Introduction
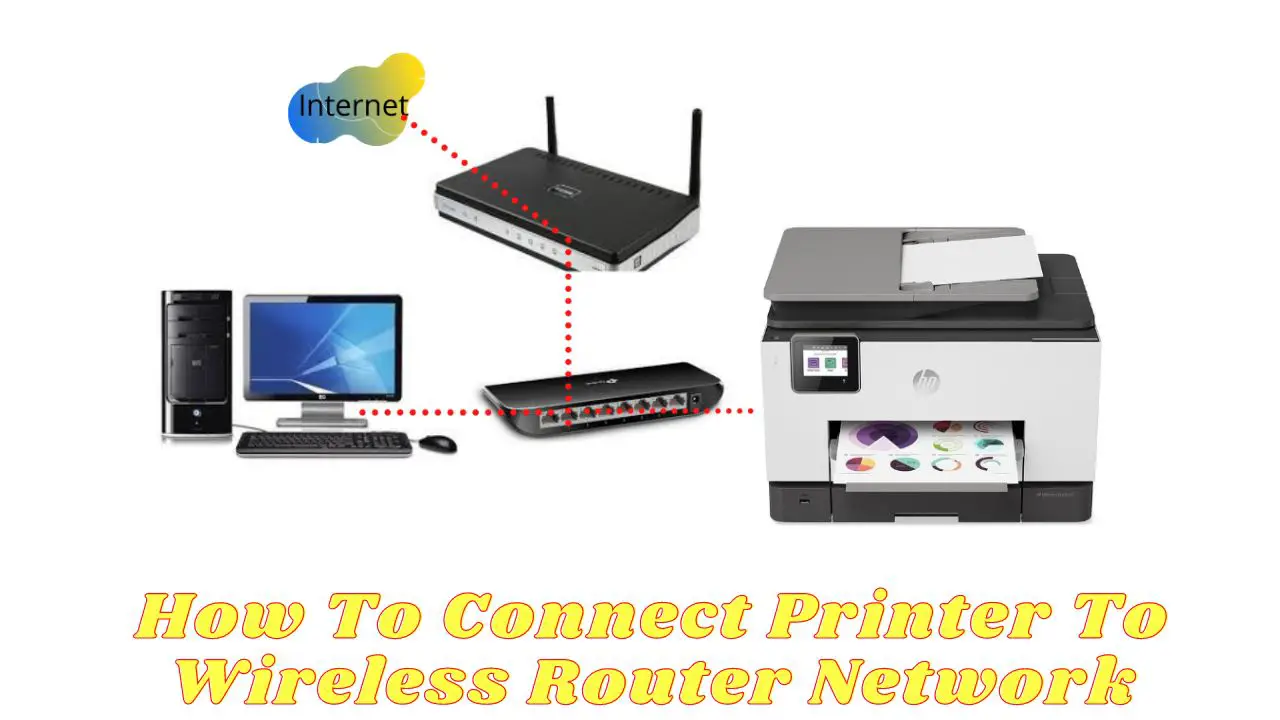
In this article, we will go over how to connect a printer to a wireless router network in simple steps.
Before we look at how to connect a printer to a wifi network, make sure that all of the prerequisites are met. You must first ensure that your printer supports WPS Pushbutton mode. Wireless printing requires WPS connectivity.
If you are unsure whether your printer has this feature, consult its instruction manual. You can also look up the brand and model of the printer online to see if it can print wirelessly. You should also look for the WPS button on your router and modem. This button should be present on both your router and modem if you have them.
You can check the instruction manual or the manufacturer’s official website to see if the router or modem has a WPS button. It is best to keep in mind that you can connect the printer to the wifi without connecting the printer to the computer.
Steps to Connect Printer to Wireless Network in Windows
- Make sure your printer and router are turned on and in close proximity.
- On your Windows computer, click on the Start menu and navigate to the Control Panel.
- Click on “Devices and Printers” or “View devices and printers”
- Click on “Add a printer”
- Select “Add a network, wireless or Bluetooth printer”
- Wait for your printer to appear in the list of available printers, if it doesn’t appear click on “The printer that I want isn’t listed”
- Select “Add a printer using a TCP/IP address or hostname”
- Enter the IP address of your printer, You may find the IP address in the printer’s manual or on the printer’s settings/network menu.
- Follow the on-screen instructions to install the printer and set it as the default printer.
Note: The specific steps may vary depending on the printer and router model. Check the user manual or online support for your specific devices for detailed instructions.
Steps to Connect Printer to Wireless Network on Mac
- Make sure your printer and router are turned on and in close proximity.
- On your Mac, click on the Apple menu and select “System Preferences.”
- Click on “Printers & Scanners”
- Click on the “+” sign to add a new printer.
- Select your printer from the list of available printers, or click on “Add Printer or Scanner” if it doesn’t appear.
- Select your printer from the list of available devices.
- Select the “Use” or “Add” button to add the printer to your Mac.
- Follow the on-screen instructions to install the printer and set it as the default printer.
Note: The specific steps may vary depending on the printer and router model. Check the user manual or online support for your specific devices for detailed instructions. Additionally, for some printers, you may need to download and install the software from the manufacturer’s website.
Conclusion
This guide will show you how to connect a printer to a wireless router network. This extremely useful feature saves you from having to deal with cables and ports. This also helps with printing speed. First, we’ll go over how to see if wireless printing is possible with your setup. After you’ve studied, you can try the procedure. You can connect more quickly if your printer has a wireless button. Even with a printer that has a control panel setting, the connecting process is simple and quick.