Introduction
For everyone out there looking to switch to AT&T U-verse, I thought I would supply this handy tip. The first thing you’ll notice when you get the service is that the modem they provide has a built-in router. The router AT&T supplies are only 802.11 N 2.4 GHz. If you plan on streaming HD videos from a local file server or transferring large files via Wi-Fi then you will want to use your own router with the latest and fastest 802.11 ac Wi-Fi. Here’s how you can configure your own router to work with AT&T U-verse.
Why Need to Set up your Own Router?
Depending on your usage, the built-in Wi-Fi may not always be sufficient. If you plan on using high-tech networking and online gaming for more than a few hours, you should set up your own router.
You can customize and change settings to perfectly fit your type of use and let the Wi-Fi functioning run smoothly without any lapse or lagging. It also includes features such as guest access and USB sharing.
What is AT&T Fiber Internet?
AT&T (American Telephone & Telegraph) Fiber is the technology that powers the company’s fastest Internet package, which utilizes a 100 percent fiber-optic network with a maximum download speed of 1000 megabits per second. AT&T Fiber technology transmits data by light waves rather than electricity. It enables the faster transmission of larger amounts of data.
Do I Need A Special Router For Fiber Optics?
With certain broadband connections, a cable/DSL router can be used; however, if you have a gateway, this is only true if the resources are available. Fiber-optic Internet, on the other hand, transmits signals using the third sort of technology. Fiber-optic internet service is not possible without a fiber-compatible modem.
The signal is transmitted using the third type of technology by fiber-optic Internet. This cutting-edge technique affects fiber-optic service equipment, such as cables, modems, and routers. Fiber-optic internet service will not function without a fiber-compatible modem.
What Routers Work With AT&T Fiber?
- NETGEAR NIGHTHAWK (AX120) 12-Stream WiFi 6 Router
- NETGEAR NIGHTHAWK Smart WiFi Router
- Asus ROG Rapture GT-AX11000 Tri-Band 10 Gigabit WiFi Router
- NETGEAR NIGHTHAWK 4-Stream AX4 WiFi 6 Router
- TP-Link AC4000 Smart WiFi_Tri-Band Router
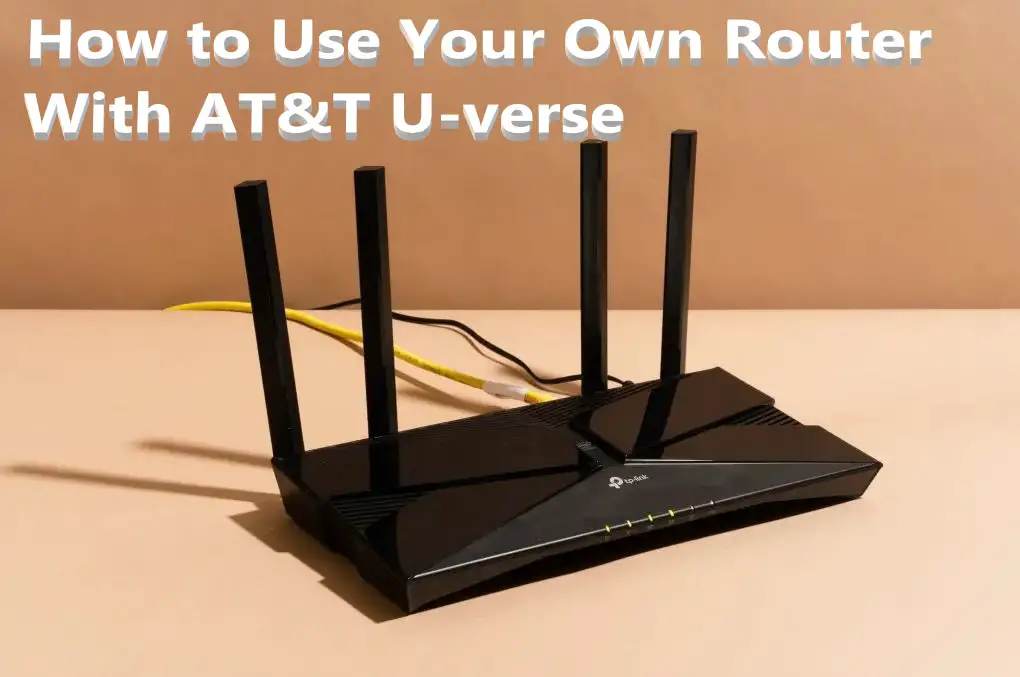
Easy Steps to Use your own Router with AT&T U-verse
Setting up a personal router is not as simple as it appears. A number of connections, configurations, and permissions are required before you can easily access internet services.
When configuring, make sure that the built-in Wi-Fi and your Personal router are not interfering with each other, as this may cause discrepancies and neither will work properly. For ensuring, you will need to set up two different IP addresses in the same subnet.
For example, if the built-in Wi-Fi IP address is 192.168.1.1, the IP address of the Personal router should be 192.168.2.1.
Now to check for the final workings. When you plug in the router, a connection is established.
Search for and open the Network Connection Status dialogue box, then click on Details. Refer to the Default Address to change the built-in Wi-default Fi’s IP address.
From here, you must complete the steps in the following order:
- Using the IP address, access the Router’s Control Panel. Enter the IP address into the web browser and navigate to the appropriate LAN Network.
- Two connections must be made. One end of an Ethernet Cable to the WAN Port of your Router. Another connection from one of the four Ethernet ports to the built-in Wi-Fi.
- Plug in the Power Cord to a Socket.
- The built-in Wi-Fi will now assign an IP address to your personal router. You can connect to the internet at this point, but first, you must get past the Firewall of the built-in Wi-Fi to establish direct contact between the two. This is necessary to avoid future Internet Application configuration issues.
- To make the connection work, enter the IP address 192.168.1.254 into your web browser.
- Select Settings → Firewall → Applications → Pinholes → DMZ (Demilitarized Zone) → Select a Computer → Select Link for your Router classed as either Vendor Name or MAC Address → Select Allow All Applications → Click Save.
- Now, if you wish to disable the built-in Wi-Fi, you can go through steps such as Settings → LAN → Wireless → Choose Disable for Wireless Access Point.
However, if you want to send or receive high-quality files such as music, recordings, movies, photos, and so on, I strongly advise you not to use the disabled option. Because these are large files, disabling them may cause a hiccup in a smooth exchange.
Conclusion
With changes in requirements, connections must be renewed, established, changed, updated, and switched. I’m sure you were looking for how to use your own router with AT & T U-verse to improve your internet availability, expand your options to reach all domains, and perform all actions with high speed and minimal time waste.